Resources
| What & Link | Type |
|---|---|
| Image Transformation Reference | Cheatsheet |
| Image Transformations | Guide |
| User-defined variables and arithmetic image transformations - Must read for advanced power users |
Guide |
| Soferman: How to Overlay Text on Image Easily, Pixel Perfect and With No CSS/HTML - Good post on advanced usage of text overlays |
Guide |
| My post: Perfectly Sized Dynamic Cover Images - Features a step-by-step breakdown and explanation |
Guide |
Base images
Throughout this cheatsheet, the base image used for examples will be the same as the Cloudinary docs, the bee / flower image. This can either be referred to by filename:
https://res.cloudinary.com/demo/image/upload/sampleOr by ID
https://res.cloudinary.com/demo/.../...l_sample.../...Here a partial list of images we can use from demo:
sample(already mentioned)face_topface_leftsheepbrown_sheepflowersflowercloudinarybikeladywomanfamily_benchfat_cat(lol)ladybug_topboat_lakeboat_lake2basketball_in_netrobot
URL Chain Order of Operations
Understanding the URL chain generated by or for Cloudinary can be a little confusing at first (or even after a while!). The order tends to work from the left to the right, but special exception is made for the final path chunk, which is usually actually the base, or the first layer in the chain.
To complicate things further, a chain can container layers, where multiple path chunks (separated by /) might be processed together, before being built back into the overall chain.
Here are some examples:
https://res.cloudinary.com/demo/image/upload/c_limit,w_300,h_300,l_bike/e_sepia/sampleWith the above, the chain is:
- Base:
sample - Add:
bike - Apply
crop300x300 - Apply:
sepiaeffect
If we wanted to apply the sepia effect ONLY to the bike image, and not to bike + sample, we need to tell Cloudinary that the cropped bike image represents a layer, and selectively apply the effect to just that layer. We can do that with the fl_layer_apply param, which is a flag.
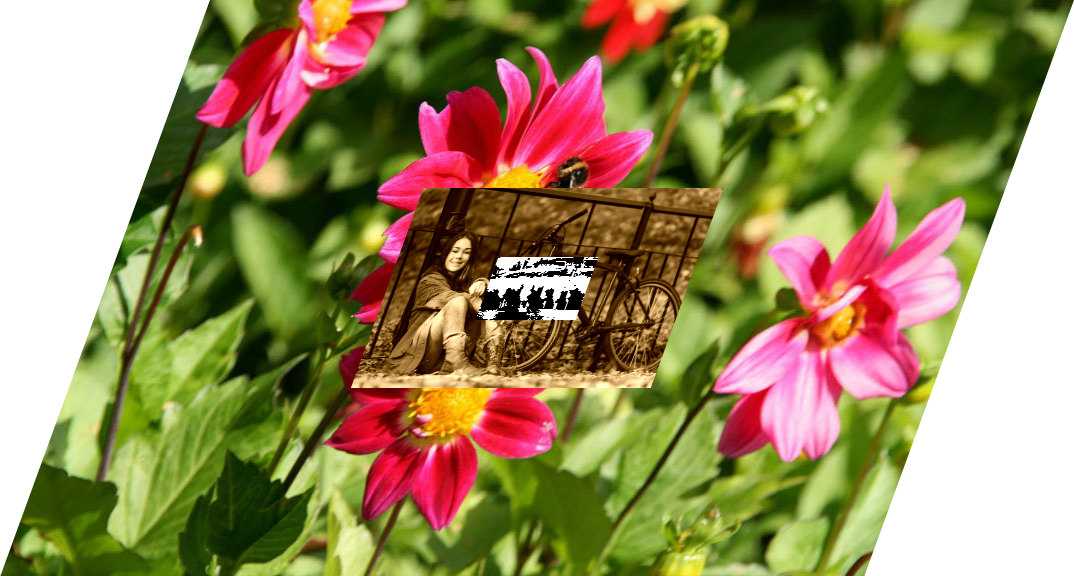
https://res.cloudinary.com/demo/image/upload/c_limit,w_300,h_300,l_bike/e_sepia,fl_layer_apply/sampleLonger chain demo
Let's evaluate a longer chain to show how it works:
https://res.cloudinary.com/demo/image/upload/c_limit,w_300,h_300,l_bike/e_sepia,fl_layer_apply/c_limit,w_100,h_100,l_sheep/e_blackwhite,fl_layer_apply/e_shear:20:0/sampleHere is the order of operations:
- Base:
sample Layer- Add
bike, crop to 300x300 - Apply
sepiato Layer (FLAG)
- Add
Layer- Add
sheep, crop to 100x100 - Apply
blackwhite(turn black and white) to Layer (FLAG)
- Add
- Apply
sheareffect, with a factor of 20 degrees on the x-axis - to the WHOLE chain (sample+bike(layer) +sheep(layer))
Here is what it ends up looking like:
Complicated wrinkle: Transforming the base layer alone
What if you want to apply an effect or transformation to the base layer itself, and nothing on top? It's actually a little surprising - you put the transformation at the beginning, which applies to the base at the end.
To put it in pseudo code:
res.cloudinary.com/{acct}/image/upload/{base_transform}/{overlay_transform}/{overlay}/{base}Here is an example - we want to make sample have an opacity of 30% (mostly transparent) but leave the bike layer at full opacity and with the sepia effect:
https://res.cloudinary.com/demo/image/upload/o_30/c_limit,w_300,h_300,l_bike/e_sepia,fl_layer_apply/sampleDebugging URL Parameters
You can try adding visual clues to each layer in the chain to try and identify issues with a single section. For example, try adding b_red to a section to give it a red background and make it stand out.
Overlays
Order of operations
First, it is important to note that overlays, and in fact the entire transformation chain, tends to work backwards from what you might expect. In the URL, the overlay comes before the base image. See the specific section on order of operations and URL chaining for detais.
Overlay - ID'ed asset
If you want to overlay an image that is already uploaded to your account and has an ID, you can reference it with l_{id}, like so:
https://res.cloudinary.com/demo/image/upload/c_limit,w_300,h_300,l_bike/sampleHere we cropped the bike image to exactly 300x300 pixels, and overlaid it on top of the sample image.
Overlay - Fetched asset
You can also overlay remote images, without uploading them! You reference the remote URL by using l_fetch:{base64WebSafe(remoteImageUrl)}.
For an example, we will overlay the Wikipedia logo from https://www.wikipedia.org/portal/wikipedia.org/assets/img/Wikipedia-logo-v2.png.
If you base64 (websafe) that, and combine it with the above rule, you get l_fetch:aHR0cHM6Ly93d3cud2lraXBlZGlhLm9yZy9wb3J0YWwvd2lraXBlZGlhLm9yZy9hc3NldHMvaW1nL1dpa2lwZWRpYS1sb2dvLXYyLnBuZw.
Overlay:
https://res.cloudinary.com/demo/image/upload/c_limit,w_300,h_300,l_fetch:aHR0cHM6Ly93d3cud2lraXBlZGlhLm9yZy9wb3J0YWwvd2lraXBlZGlhLm9yZy9hc3NldHMvaW1nL1dpa2lwZWRpYS1sb2dvLXYyLnBuZw/sampleOverlays - Text Overlays
You use l_text:{textParams} for text overlays. For understanding text overlays, this is a good starting point - Cookbook - Add a Text to an Image.
How to wrap text in an overlay
If you use c_fit with a defined width, Cloudinary will auto-wrap the text inside the layer to fit.
There is a slight caveat here though; normal percentage widths don't seem to work with this. For example, in my testing, w_1.0 or w_0.5, which would normally limit the layer to 100% or 50% (respectively) of the canvas width, does not work. There is an easy workaround though:
- For fitting to 100% of the width, use
w_iw- this works with text layers, and is functionally equivalent to 100% of the original image width. Example - For fitting to a percentage of the overall size, use an Arithmetic Operator.
- For example, to fit the text to 50% of the overall width, we could use
w_w_div_2(width = width / 2). Example.
- For example, to fit the text to 50% of the overall width, we could use
- And, everything also works fine if you just use fixed pixel sizes (e.g.
w_200)
Warning: Wrapping text is not the same as restricting height; you might need to chain a crop layer on the text layer to crop and reposition it.
Advanced Text Overlay Example
Limits text to 90% of width, puts a red background behind, and then resizes entire text layer to fill upper 80% of image. Uses variables to capture original image width and height and reuse.
Neat examples:
Twitter crop (1038 x 588) + drop shadow effect
https://res.cloudinary.com/{account}/image/upload/h_548,w_1018,c_pad,y_10/e_shadow:45,y_8/c_fill,w_1038,h_588,g_center/{imageId}Demo: Link
Aspect Ratio cropping:
- Just combine the aspect ratio parameter (
ar) with a crop method. - Use
g_auto(auto gravity) with a crop mode that supports it (such asfill) for best results
https://res.cloudinary.com/demo/image/upload/ar_2:1,c_fill,g_auto/face_top.jpg